

Have you ever found yourself constantly opening the door for your cat, only to have them dart back inside moments later? Installing a cat door can be the perfect solution, granting your feline friend the freedom they crave while giving you a break from playing doorman.
But the idea of cutting a hole in your door might sound daunting. Don’t worry, you’re not alone! Many pet owners just like you have faced this challenge and come out victorious. Imagine the peace of mind and convenience you’ll gain once your cat can come and go as they please.
In this guide, we’ll walk you through the simple steps to install a cat door, ensuring a smooth process and a happy cat. So, let’s dive in and get your project started!
Choosing The Right Cat Door
Choosing the right cat door is crucial before you start the installation process. It ensures your cat feels comfortable using it and that it fits perfectly in your home’s setup. Let’s break down what you need to know to pick the ideal door for your furry friend.
Types Of Cat Doors
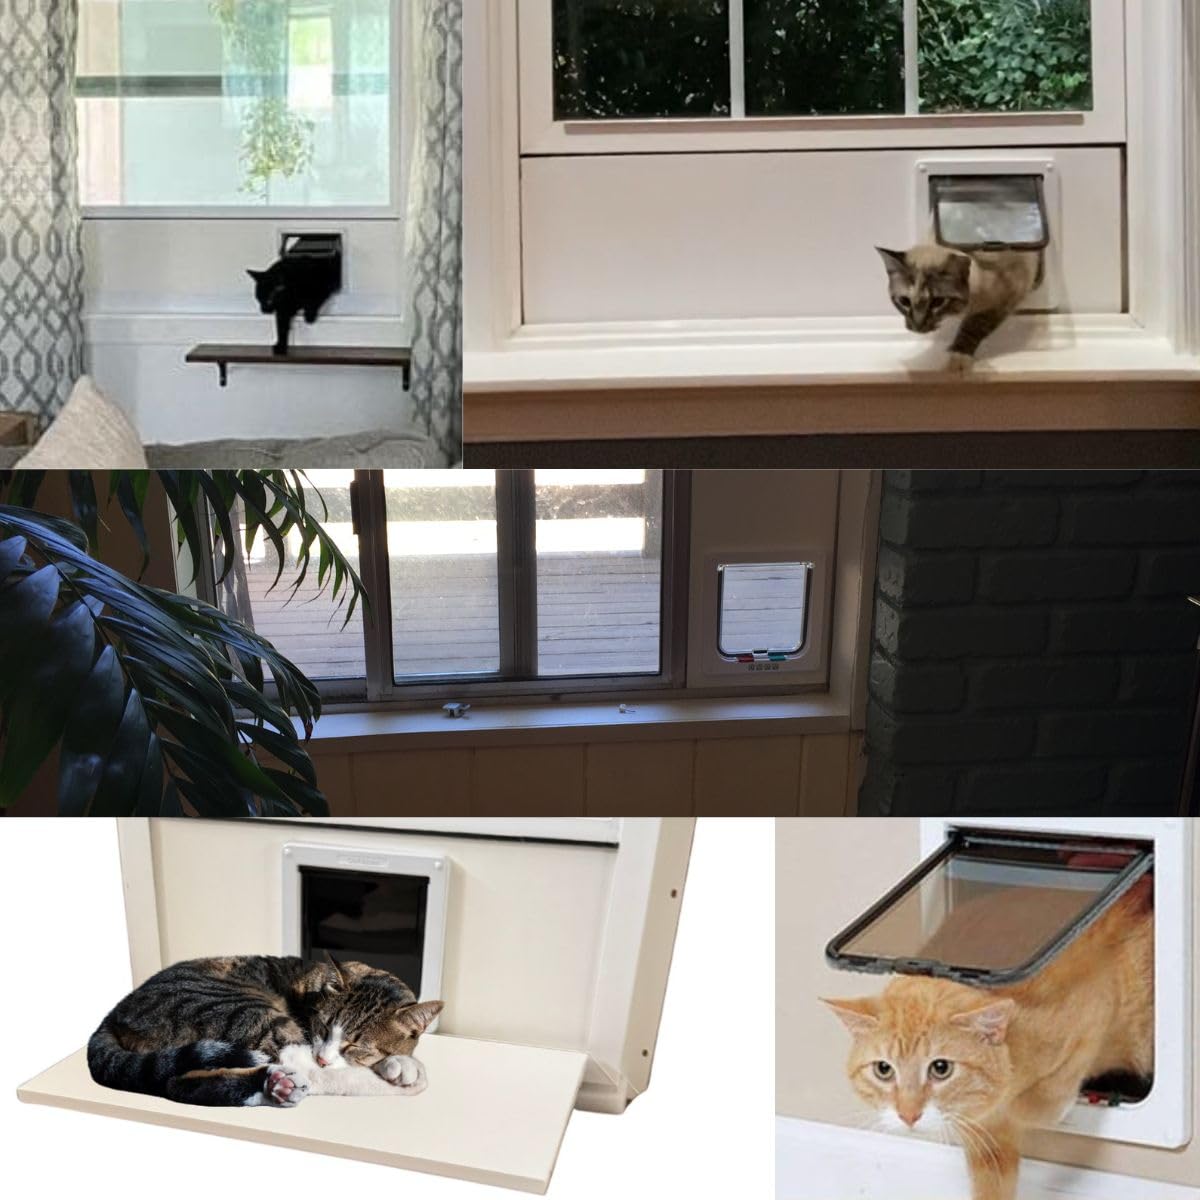
Cat doors come in different styles to suit various needs and preferences. Some common types include:
- Flap Doors:Simple and budget-friendly, these have a flexible flap your cat pushes through.
- Magnetic Doors:These only open when your cat’s collar magnet is near, keeping unwanted animals out.
- Electronic Doors:These use sensors or microchips to allow entry, offering more security.
Think about your cat’s habits and your security concerns. Would an electronic door be overkill, or is it necessary to prevent stray animals from sneaking in?
Measuring Your Cat
Getting the right size is key to avoid frustration for your cat. Measure your cat’s height and width while they are standing naturally.
Don’t just measure the cat’s body; add a few extra centimeters for comfort. A door that’s too small will discourage use, and one that’s too large might let in drafts or pests.
Have you noticed your cat’s preferred path or movement? That can guide where and how you measure for the best fit.
Material Options
Cat doors come in various materials like plastic, metal, and wood. Plastic doors are lightweight and easy to install but may not be as durable.
Metal doors offer strength and security, perfect for outdoor-facing doors. Wooden doors blend well with home interiors but can be heavier and pricier.
Consider your home’s environment and your cat’s behavior. For example, if your cat tends to scratch, a sturdy metal flap might last longer.
Credit: www.amazon.ca
Tools And Materials Needed
Installing a cat door requires a set of specific tools and materials. Having the right items ready makes the job easier and safer. This section breaks down the essentials for a smooth installation.
Essential Tools
- Measuring tape – to get accurate dimensions
- Pencil – for marking the cut lines
- Drill with bits – to make holes for screws
- Jigsaw or handsaw – to cut the door or wall
- Screwdriver – to tighten screws
- Level – to ensure the door is straight
Safety Equipment
- Safety goggles – protect eyes from dust and debris
- Dust mask – prevents inhaling sawdust
- Work gloves – protect hands during cutting and drilling
Additional Supplies
- Cat door kit – includes the flap and frame
- Sandpaper – smooths edges after cutting
- Caulk or sealant – seals gaps around the door
- Drop cloth – keeps the area clean
- Vacuum or brush – cleans up sawdust and debris
Preparing The Installation Area
Preparing the installation area is crucial for a smooth and successful cat door setup. Taking the time to carefully select the right spot, assess your door’s material, and accurately mark the cutout will save you from costly mistakes. This stage sets the foundation for your project and ensures your cat door functions perfectly.
Selecting The Door Location
Choose a spot that your cat can easily reach and feels comfortable using. Look for a section of the door at a height that matches your cat’s size—too high or too low can discourage use. Also, consider the weather and security; avoid areas exposed to heavy rain or direct sunlight, which might damage the door over time.
Think about your daily routines. Will the door interfere with your own movements? Does it affect the door’s structural integrity or security? Your choice affects not just your cat’s convenience but also your home’s safety.
Checking Door Material
Not all doors are created equal. Wooden doors are easier to cut but may need extra sealing after installation. Metal or fiberglass doors require special drill bits and more precision to avoid damage.
Feel the door’s thickness and firmness. Thin doors might not support certain cat door models. If your door has glass panels, you’ll need a different approach or a model designed specifically for glass.
Marking The Cutout
Use the template provided with your cat door kit to trace the exact shape on your door. Double-check measurements before cutting—once the cut is made, you can’t undo it. A pencil works best for clear, adjustable marks.
Place the template carefully, ensuring it’s level and centered. You might want to tape it down to prevent shifting. Ask yourself: Have I left enough space around the cut for smooth door operation and sealing?

Credit: www.admiralwindows.co.uk
Cutting The Door
Cutting the door is a crucial part of installing a cat door. It requires precision and care to ensure a perfect fit for your pet’s new entrance. Taking the right steps here will save you from frustration and extra work later.
Drilling Pilot Holes
Start by marking the outline of the cat door on your door surface. Before cutting, drill pilot holes at each corner of the marked area. These holes guide your saw and make cutting easier and more accurate.
Use a drill bit slightly larger than the saw blade to prevent cracking. If you skip this step, you risk splintering the door or damaging your saw. Have you ever tried cutting without a pilot hole? It’s much harder to control the blade.
Cutting Techniques
Choose a jigsaw or handsaw with a fine blade for the best results. Insert the blade into one of the pilot holes and follow the outline slowly. Keep your hand steady and the blade perpendicular to the door surface to avoid angled cuts.
Take breaks if you feel your control slipping. Rushing can cause jagged edges or mistakes that are tough to fix. What’s your experience with cutting wood or composite doors? Patience here makes a big difference.
Smoothing Edges
After cutting, the edges will likely be rough and uneven. Use sandpaper or a sanding block to smooth the edges carefully. This step prevents splinters and helps the cat door frame fit snugly.
Don’t forget to check both sides of the door. Sometimes the roughness is more visible inside your home. Have you noticed how a smooth finish improves the overall look and feel of a DIY project?
Installing The Cat Door
Installing a cat door lets your pet move freely in and out of your home. A well-installed door keeps your house secure and your cat happy. Follow these steps to fit, secure, and test the door properly.
Fitting The Frame
Start by holding the cat door frame against the door or wall. Use a pencil to mark the outline clearly. Cut along the marks carefully using a suitable saw. Ensure the hole matches the frame size exactly. Place the frame into the hole to check the fit. Adjust edges gently if needed for a snug fit.
Securing The Door
Use screws to fix the frame firmly in place. Choose screws that suit your door material. Tighten screws evenly to avoid gaps. Seal around the frame edges with weatherproof caulk. This prevents drafts and keeps out dirt. Double-check that the door feels solid and stable.
Testing The Flap
Make sure the flap swings freely in both directions. Push it gently to confirm smooth movement. Check the flap seals well when closed to keep out weather. Encourage your cat to use the door by guiding it through. Observe your cat’s comfort with the new access point.
Sealing And Finishing Touches
Once your cat door is securely installed, sealing and finishing touches are crucial to keep your home comfortable and your pet happy. These final steps protect against drafts, moisture, and unwanted dirt, ensuring the door works smoothly year-round. Let’s focus on how you can weatherproof, add insulation, and clean up the area for a neat finish.
Weatherproofing
Weatherproofing prevents cold air, rain, and bugs from sneaking inside through gaps around the cat door. Use a high-quality silicone sealant or weatherstripping around the edges where the door meets the wall or door frame. Make sure to apply it evenly and press firmly to fill all cracks.
Have you checked if your cat door has a flap designed to close tightly? If not, consider adding a magnetic or rubber flap to block drafts effectively. Weatherproofing not only saves energy but keeps your cat cozy during chilly months.
Adding Insulation
Insulation stops heat from escaping and keeps cold out, especially in colder climates or if the door is installed on an exterior wall. You can add foam tape or insulated panels around the frame of the cat door to boost its thermal resistance.
If your cat door has a removable flap, try using a self-adhesive insulation strip on the flap edges for an extra barrier. This simple addition can make a big difference in maintaining your home’s temperature without restricting your cat’s freedom.
Cleaning Up
After installation, clean the area thoroughly to remove sawdust, sealant residue, and any loose materials. Use a vacuum or brush to clear dust from crevices, which can affect the door’s operation over time.
Inspect the door flap for smooth movement and wipe it down with a damp cloth to prevent dirt build-up. A clean and well-maintained cat door ensures your pet’s easy access and keeps your home looking tidy.
Tips For Training Your Cat
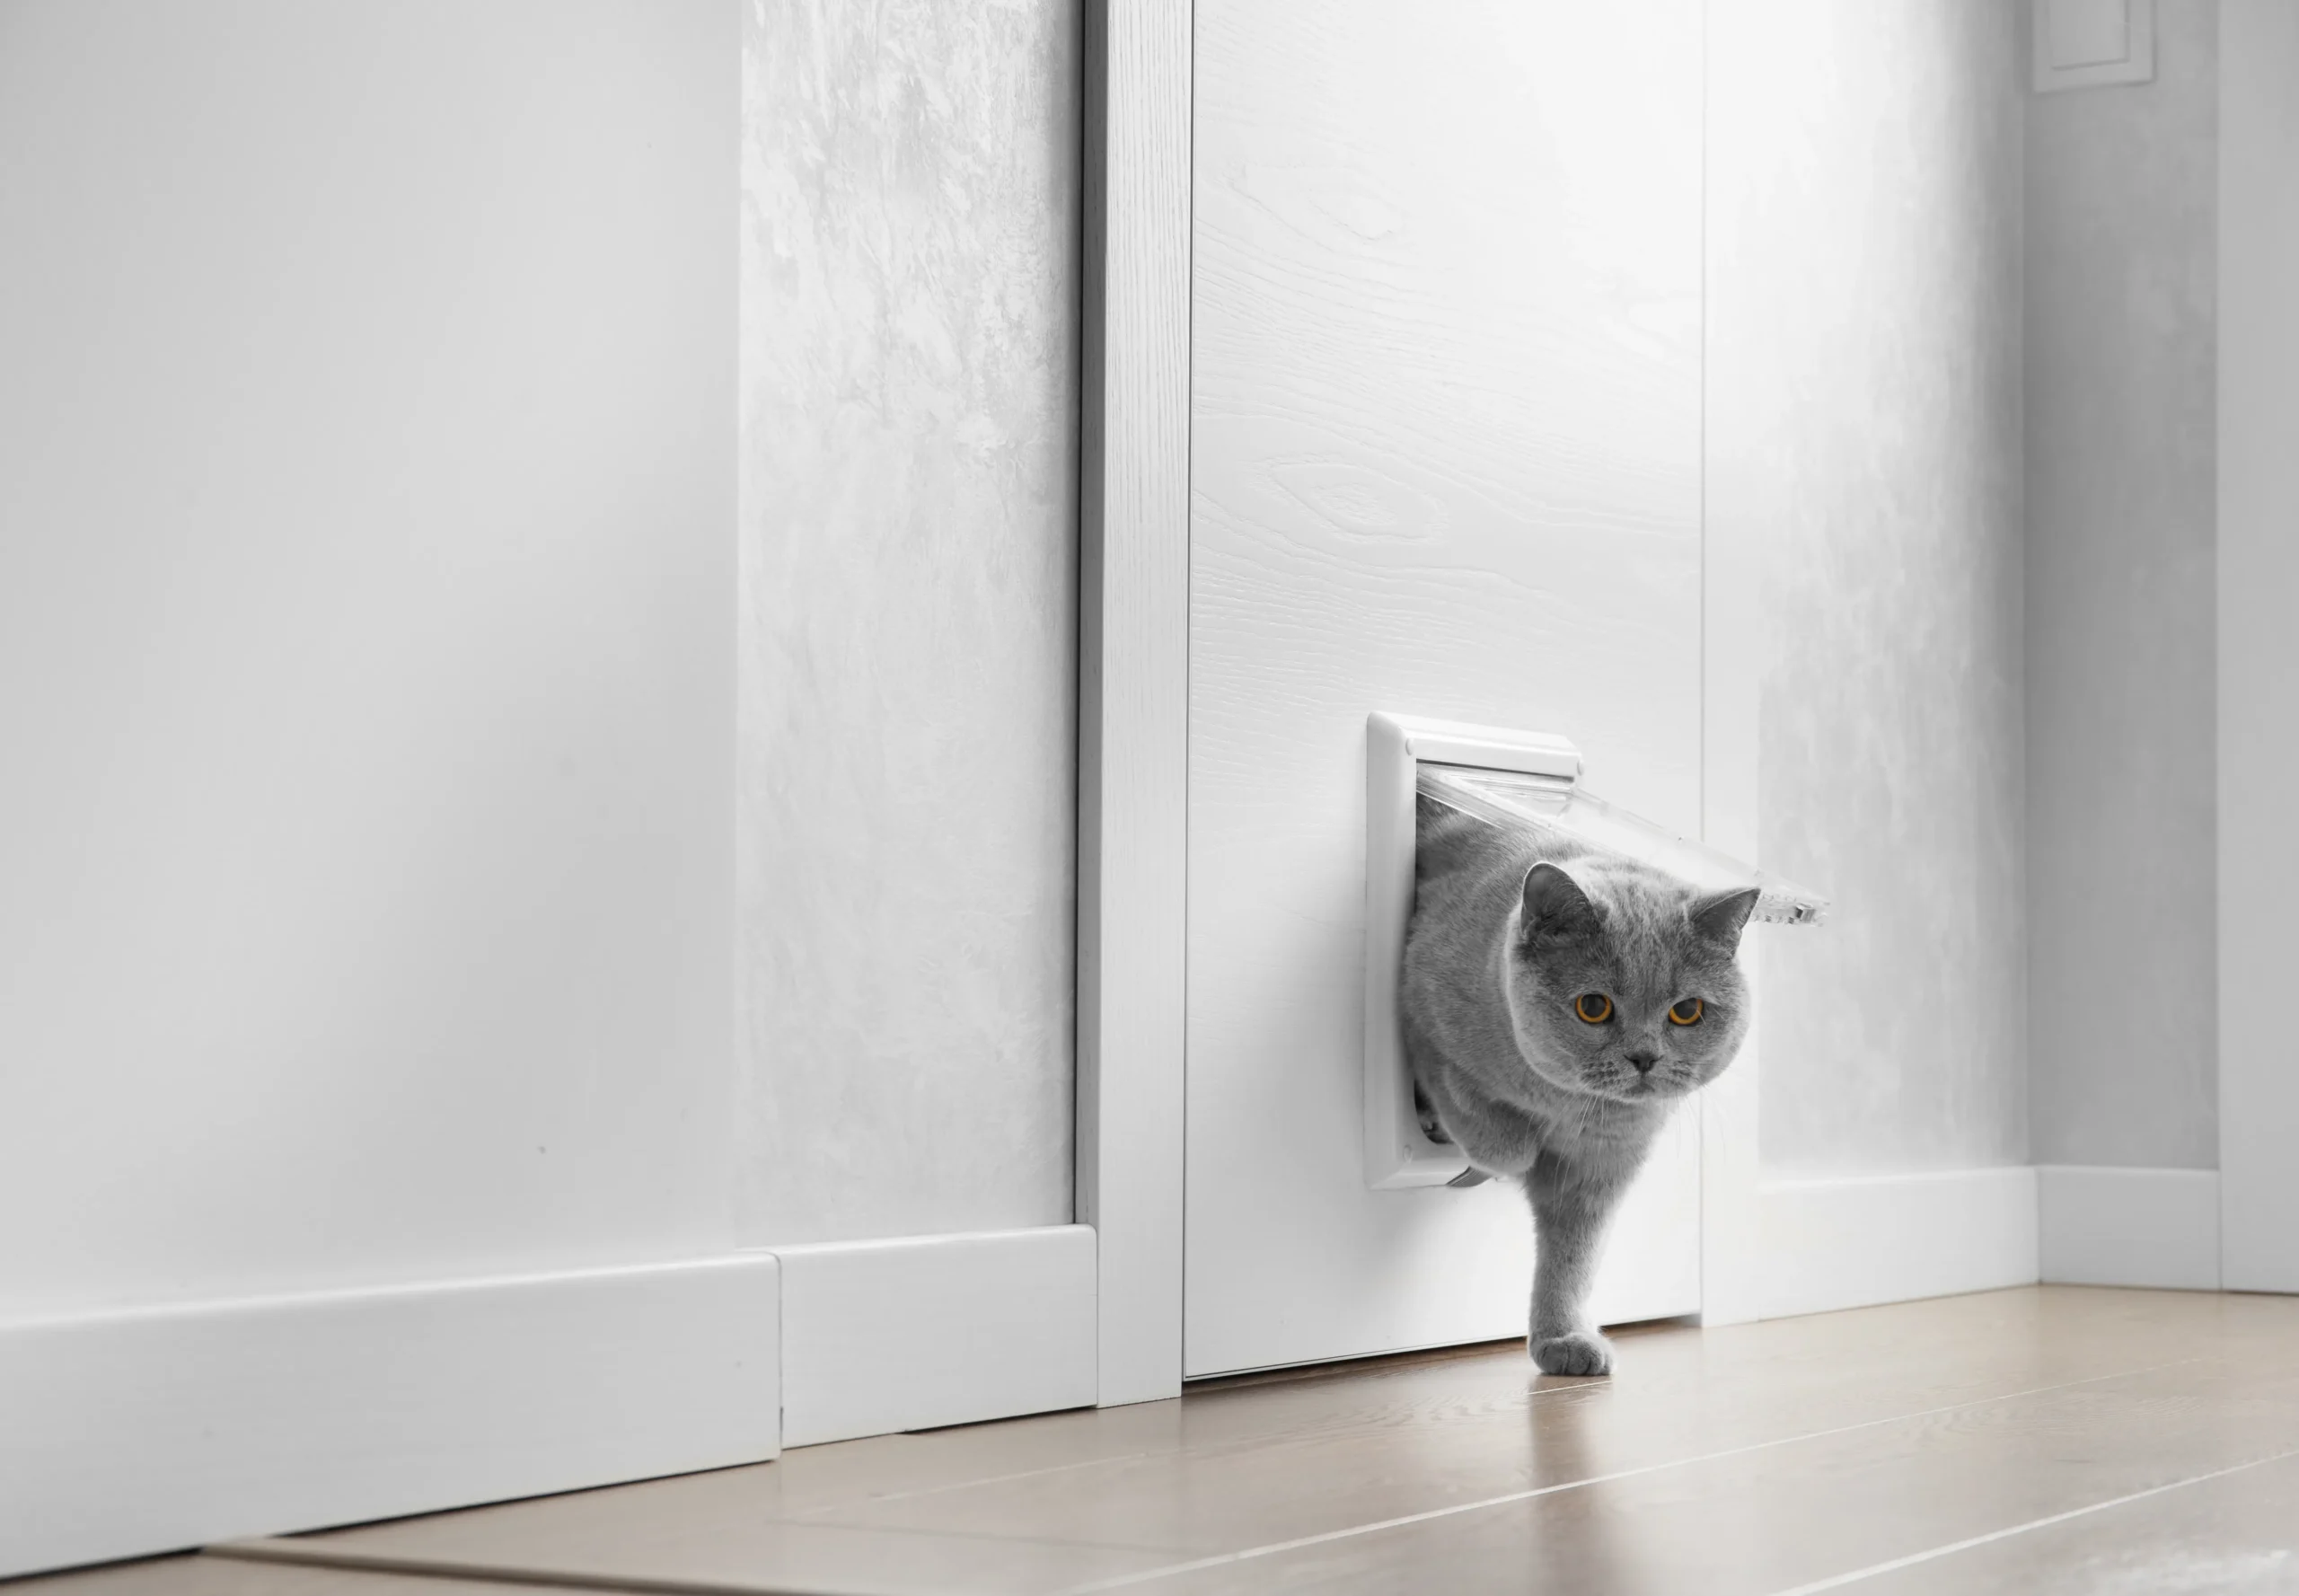
Training your cat to use a new cat door takes patience and gentle guidance. Cats need time to understand this new way of moving in and out. A calm approach helps your cat feel safe and curious. Use positive methods to build trust and interest in the door.
Introducing The Door
Show the door to your cat without forcing it. Let your cat sniff and touch the flap. Keep the door open at first to remove fear. Sit nearby and speak softly to encourage comfort. Use treats to make the door a happy place.
Encouraging Use
- Place treats or toys just outside the door to tempt your cat.
- Gently push the flap to show it moves easily.
- Use a favorite toy to guide your cat through the door.
- Reward every attempt with praise or a treat.
- Be patient; some cats learn faster than others.
Troubleshooting Common Issues
Some cats may ignore the door at first or seem scared. Avoid forcing your cat through the flap. Try using a lighter door flap if the current one is heavy. Check if the door is too noisy or sticky. Remove obstacles near the door that might scare your cat.
Slow progress is normal. Keep sessions short and positive. If problems persist, try a different door style or ask a vet for advice.
Credit: myprofessional.ch
Frequently Asked Questions
How Do I Choose The Right Cat Door Size?
Measure your cat’s width and height carefully. Choose a door slightly larger than your cat for easy access. Check manufacturer sizing charts for accuracy. Proper sizing ensures comfort and prevents your cat from getting stuck.
Can I Install A Cat Door On Any Door Type?
Most cat doors fit wooden, metal, and glass doors. Check product specifications before buying. Some models need special tools or kits for glass doors. Always follow installation guidelines for your door type to ensure a secure fit.
What Tools Are Needed For Cat Door Installation?
Basic tools include a drill, screwdriver, measuring tape, and a jigsaw. Some installations may require a pencil and level. Having the right tools makes the process smooth and prevents damage to your door.
How Do I Prevent Drafts Through The Cat Door?
Choose a cat door with weatherproof seals or flaps. Install draft stoppers around the edges if needed. Proper sealing keeps your home energy-efficient and comfortable while allowing your cat easy access.
Conclusion
Installing a cat door can make life easier for you and your pet. It gives your cat freedom to go outside safely. Follow the steps carefully for a secure fit. Use the right tools and measure well before cutting. Check the door regularly to keep it clean and working.
Enjoy the convenience and peace of mind with your new cat door. Your cat will thank you for this simple change. Simple, practical, and helpful.

Lily Purrington is the founder of MyKittyPicks.com, a cozy corner of the web dedicated to helping cat lovers discover the best cat products, furniture, toys, and home decor ideas.
A lifelong cat enthusiast, Lily shares trusted tips, honest product recommendations, and stylish inspiration designed to keep kitties happy and homes beautiful.
Her mission is simple: to bring together practical advice and purr-fect picks that make life better for cats and the people who love them.


